Complete the Look
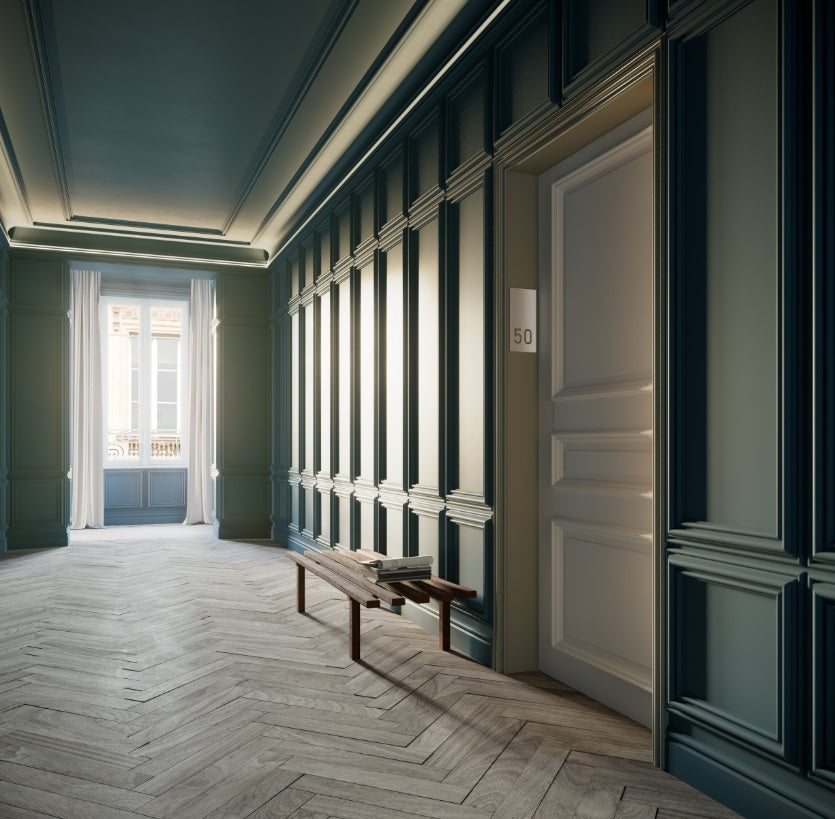
Pair your panelling with a considered paint finish. Our Metallic Paint Collection
offers gold and bronze accents by Mylands, perfect for making a memorable first impression as guests step through the front door.
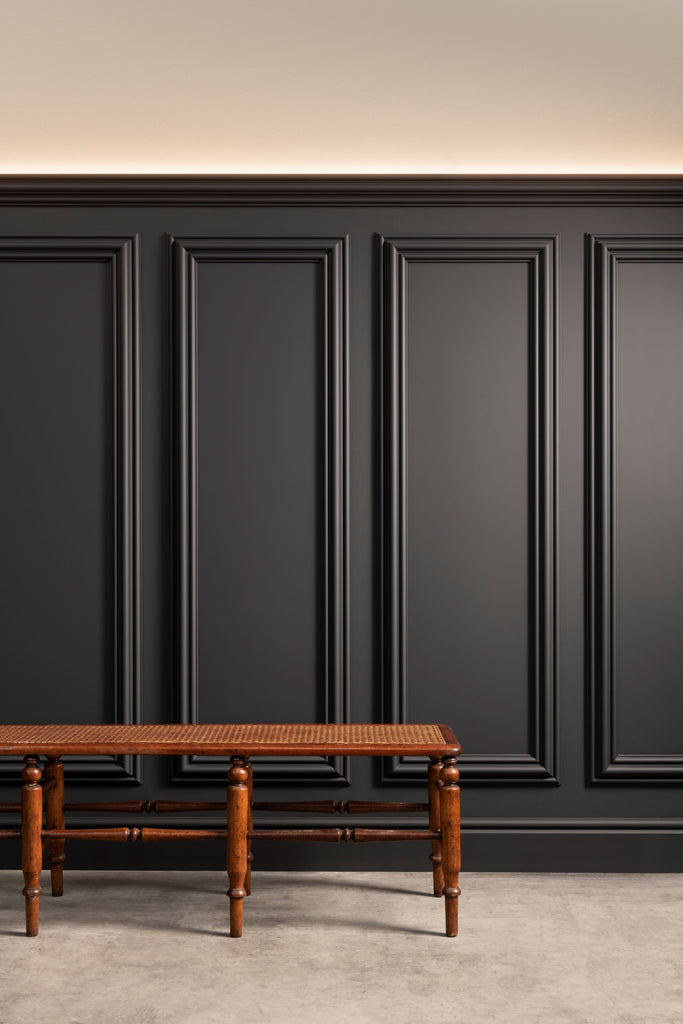
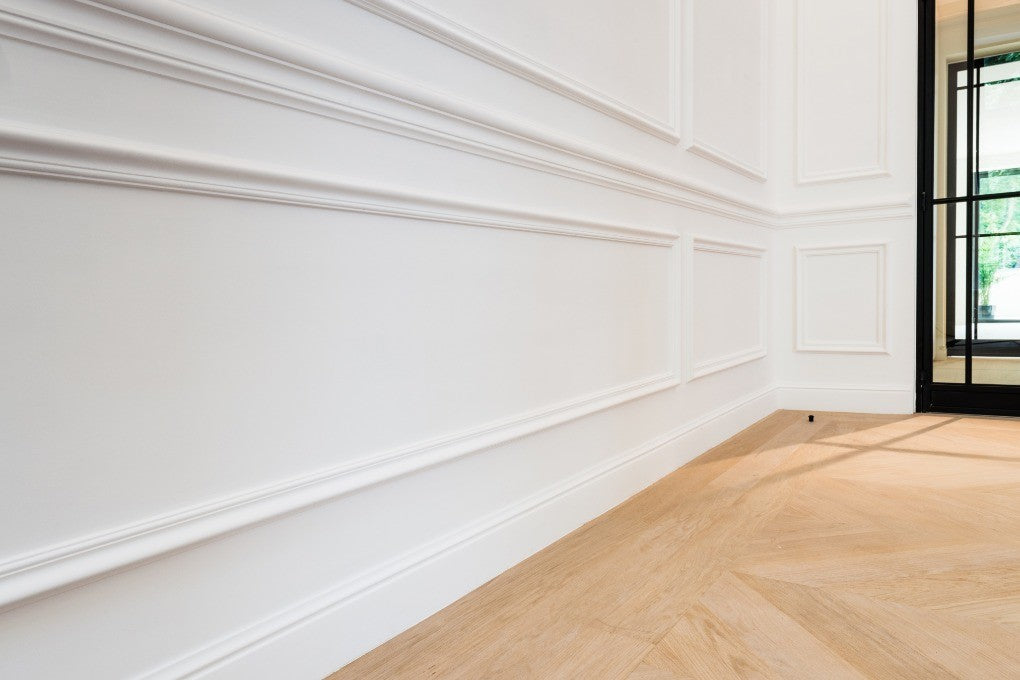
The hallway sets the tone for the entire home — it's the first thing guests see and the space that connects every room. Wall panelling is one of the most effective ways to elevate a hallway, adding architectural character, protecting walls in a high-traffic area, and creating a strong first impression that carries through the rest of the interior.
All panels are made from lightweight, waterproof polyurethane — durable, wipeable and designed to withstand the inevitable knocks and scuffs that come with a busy hallway. They arrive primed white and ready to paint in your chosen colour.
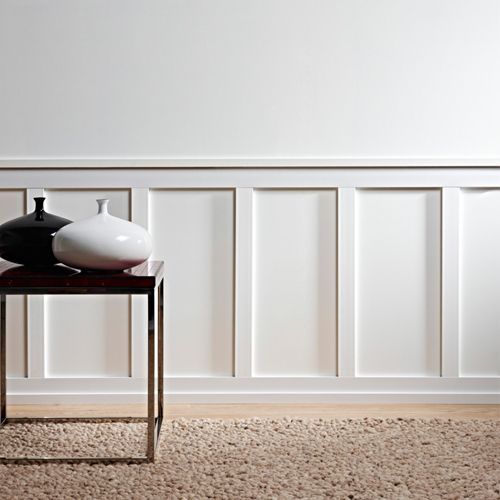
Popular styles for hallway panelling:
Hallway panelling tips:
For the most durable finish in a high-traffic hallway we recommend Mylands Wood & Metal Paint — scrubbable, sprayable and available in a wide range of colours.
Order a sample before committing to a full hallway. Trade accounts welcome — contact us for specification support and volume pricing.
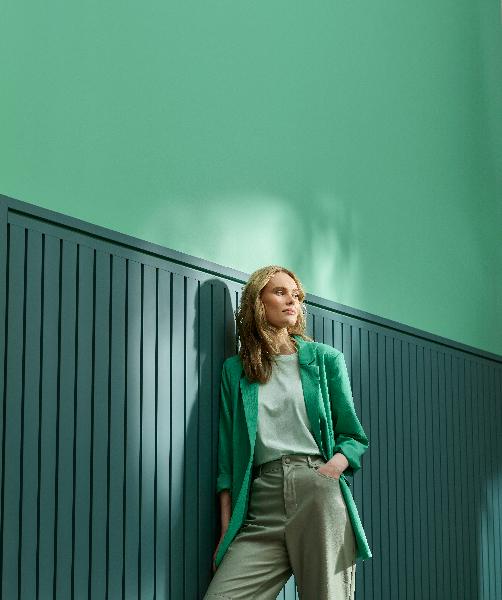
Make first impressions count with your hallway. The hallway decor is often left to last but should always be considered as it sets the tone for the rest of the house. Often smaller spaces with less sunlight than other areas, hallways are the perfect place to use colour and details.
By adding panelling you can add character and personality to your walls and with clever paint details you can draw the eye through the hallway and towards the places you want people to go.
LED lighting can add an understated elegance and breathe life into the most uninspiring rooms. It can add depth to a room, by creating shadows and lighter points in the space.
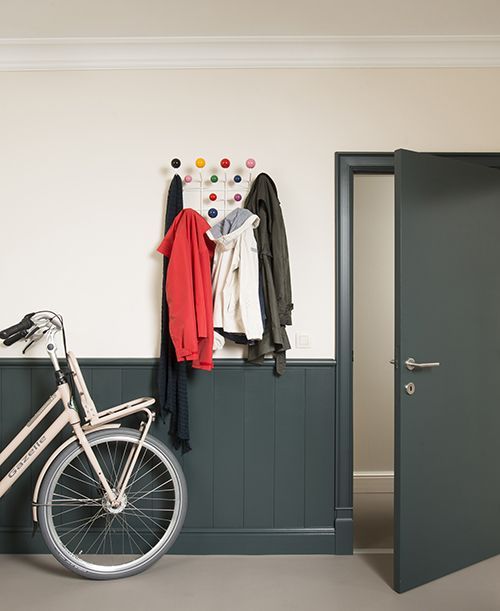
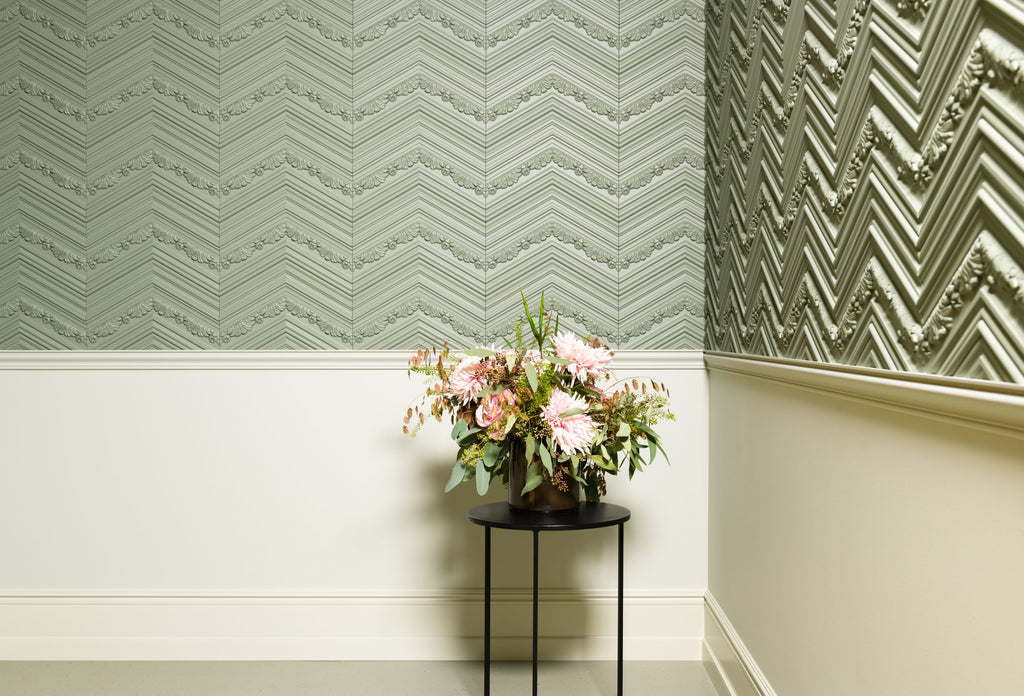
Adding a dado rail to your hallway is a stylish way to enhance its design while offering practical benefits. It helps protect walls from scuffs in high-traffic areas, and the visual divide allows for creative decoration, such as using contrasting colors or textures above and below the rail. Whether you opt for a classic panelled look or a modern minimalist design, a dado rail adds architectural interest and can make a narrow hallway feel more balanced and inviting.
Pair your panelling with a considered paint finish. Our Metallic Paint Collection
offers gold and bronze accents by Mylands, perfect for making a memorable first impression as guests step through the front door.
There are so many great ways to decorate a hallway with panelling, whether you are looking for traditional hallway panelling or a contemporary take on it. Choose from our selection of simple wall moulding to create a framed shaker wall design or make use of the decorative pre-moulded full wall panels that you can simple mount onto your wall and paint. There is an option for every space and style and all of the panelling comes primed ready for you to paint the perfect colour.