


Complete the Look
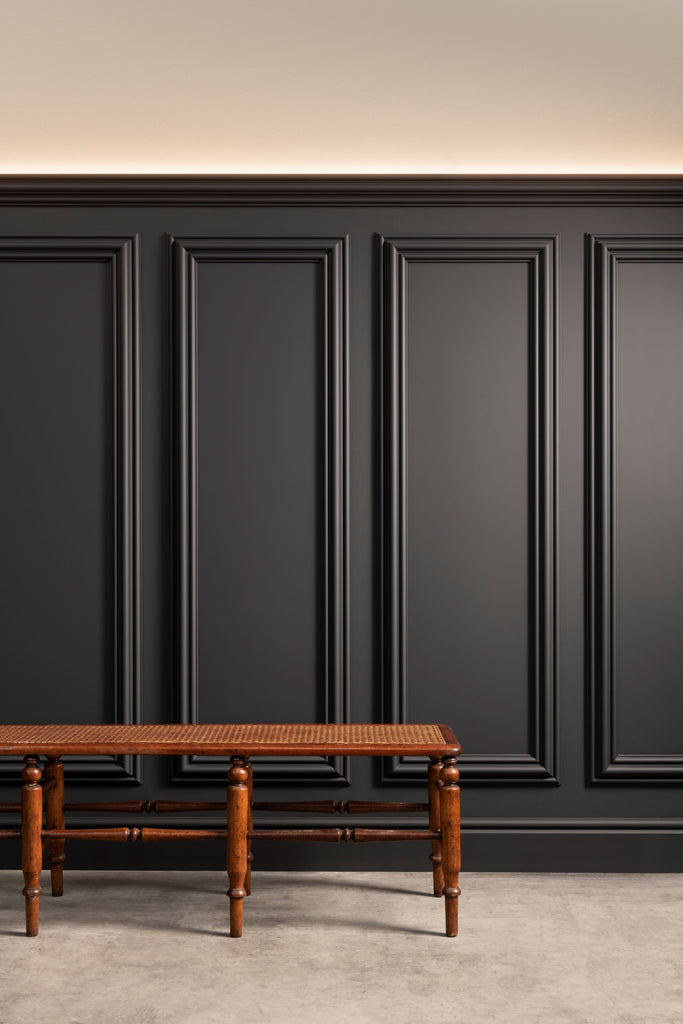
Pair your panelling with a considered paint finish. Our Metallic Paint Collection offers gold and bronze accents by Mylands — a striking choice for a stairwell that's one of the first things visitors see.
Shop the Metallic Paint Collection
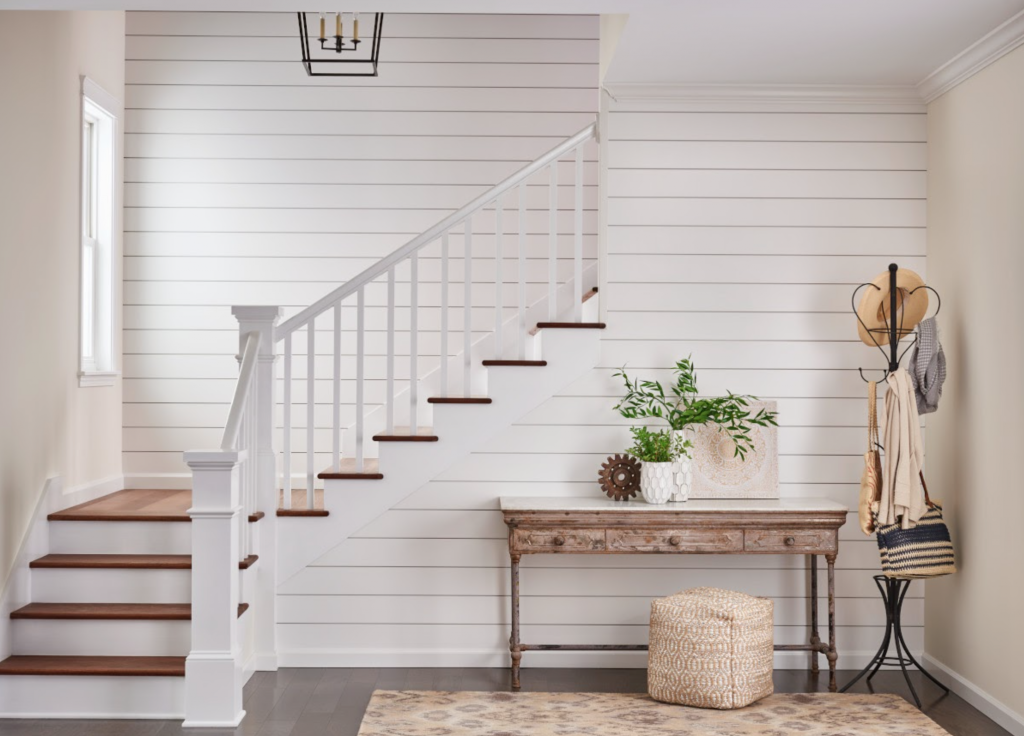
Why add wall panelling to your stairway?
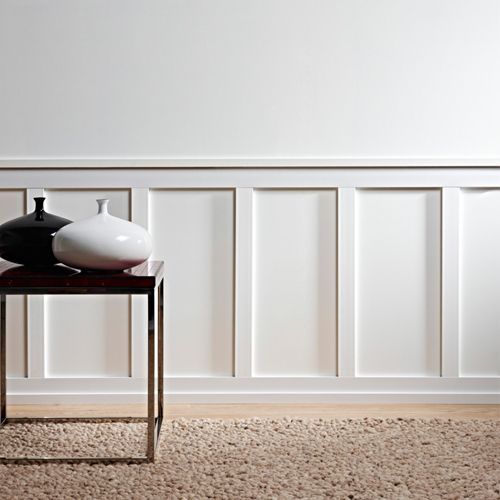
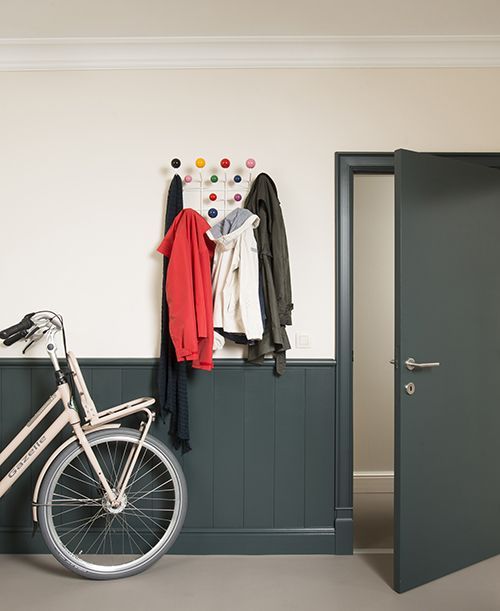
The staircase is visible from the hallway, the landing and often the living room too, so it sets the tone for the whole interior scheme. Two styles work particularly well here: Shaker panelling for a clean, classic look, or Tongue & Groove for a more traditional feel. Both hold up well in this high-traffic transitional space.
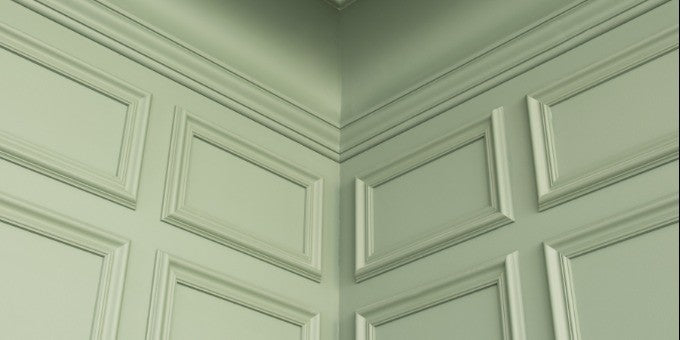
How do I do wainscoting up a staircase?
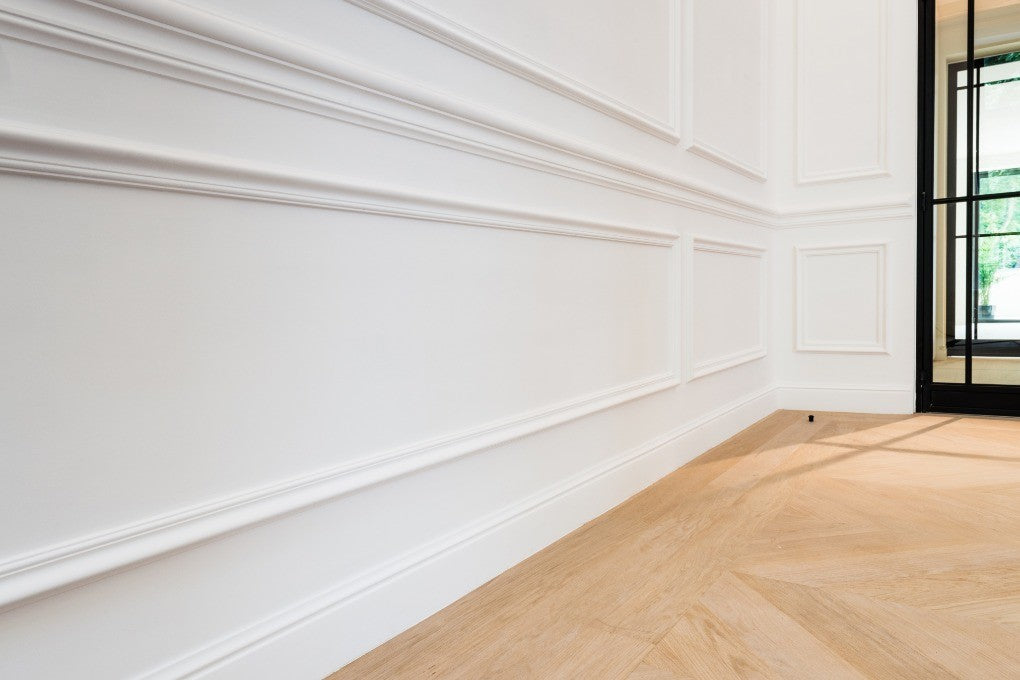
Our staircase-specific panels and mouldings can be cut and mitred to follow the angle of your stairs, so the panelling runs continuously from the ground floor up to the landing. Wall moulding No. 4025 is particularly well suited to this, as its profile can be mitred to match the incline. Since no two staircases are quite the same height or pitch, panels are made to your measurements rather than a fixed size.